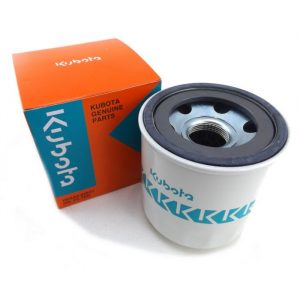
If you own a new Kubota tractor, then it is already equipped with a genuine Kubota oil filter. The filter is designed to eliminate destructive impurities from the engine oil during normal use of the tractor.
The filter includes an internal steel cap that is bonded to the filter with oil resistant adhesive to increase the structural strength of the element. It performs high efficiency filtration with the use of synthetic fiber that is constructed to resist hot oil. The filter also features a sealing gasket that reduces leaks during severe and high temperature operation.
Kubota oil filters also feature internal corrosion protection and a larger filtration area.
Replacing Oil And Old Kubota Oil Filter
 It is recommended that you replace the first oil filter with a new one after about 50 hours of tractor use. From then on, you can replace it after every 400 hours of tractor use.
What follows are instructions on changing the Kubota oil filter on a Kubota L-Series tractor.
You will need the following tools to replace oil and a Kubota oil filter:
- • 19mm wrench
• 12mm wrench
• Oil pan
• Funnel
• 7.1 quartz of premium grade diesel engine oil
Step-by-Step instructions on how to drain and replace oil on a Kubota L-Series Tractor
1. Use the 12mm wrench to remove the left engine side panel.
2. Screw the bolt back from where it came so you are sure not to lose it.
3. Use a paper towel or cloth to wipe any dirt from the oil cap.
4. Remove the cap so the oil can be drained.
5. There are two oil drain plugs. To drain the oil, loosen one of the plugs with a wrench, and then unscrew the plug by hand until it comes off.
6. Be ready to move the pan to capture the flowing oil as needed. Expect the oil to shoot out fairly far at a rapid pace.
7. Once the oil starts to trickle out, re-place the plug.
8. Repeat steps 3 through 7 for the other side.
9. Unscrew the panel bolt.
10. Close the engine side panel and re-place the bolt.
Step-by-Step instructions on how to replace a Kubota oil filter
Tools you will need to perform the task include:
- 12mm wrench
- Oil pan
- Kubota Oil Filter
1. Use the 12mm wrench to remove the left engine side panel
2. Screw the bolt back from where it came from so you won’t lose it.
3. Locate the oil filter
4. Use a paper towel or cloth to wipe dirt from around the filter and its mount.
5. Remove the filter with the oil filter wrench. Make sure the oil pan is under the filter so excess oil is caught in it.
6. Unscrew the old oil filter. Be aware that old oil will drip from the filter.
7. Use a paper towel or cloth to wipe dirt off of oil filter mount.
8. Spread sealant along the seal of the new filter.
9. Screw the new filter in by hand until it contacts surface, and then continue turning one half turn to secure the filter in place.
10. Use a paper towel to clean off any oil drippings from the axle.
11. Unscrew the panel bolt.
12. Close the engine side panel and re-place the bolt.
(Sources: kubotausa.com and YouTube)